

Combos · the Chain Warden
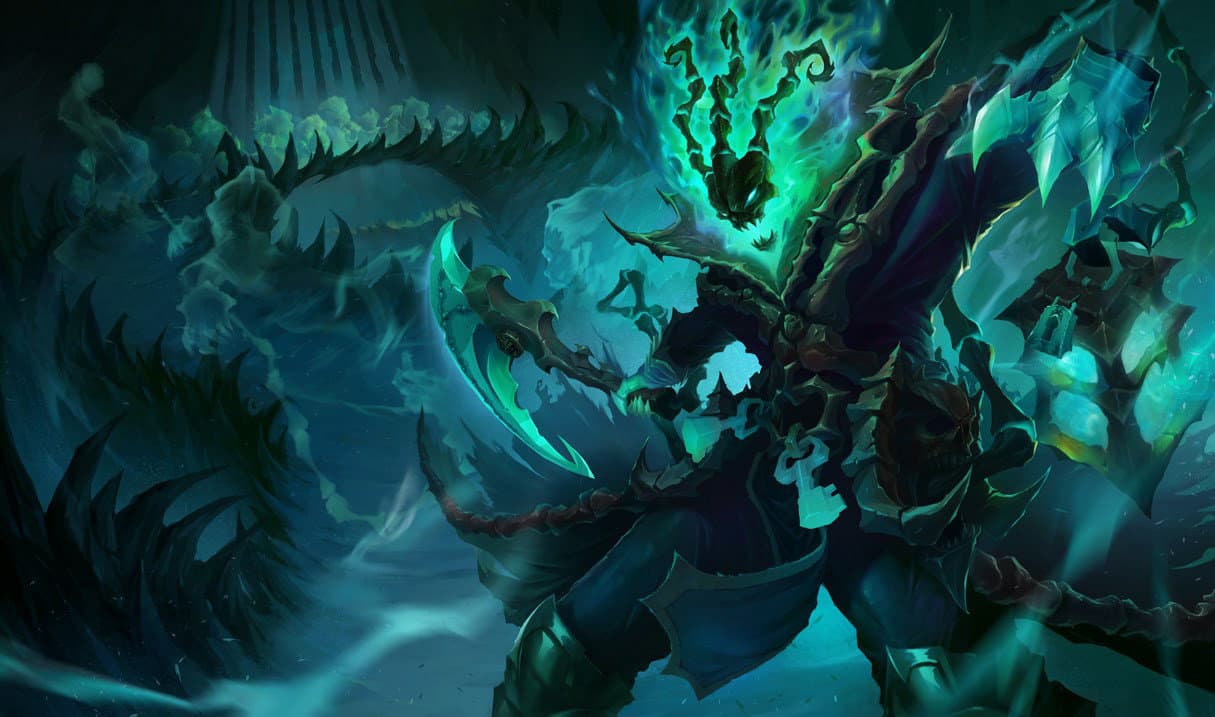
Thresh
Practiceable Thresh sequences with a clear purpose, execution note and the ability context behind each input.
PRACTICE LAB
Thresh combo routes
Every sequence states what it solves. Learn the decision before the muscle memory.
Q1 → optional Q2 → E → R
Choose the hook recast
A landed Q1 does not require Q2. Recast only with follow-up; aim E toward allied damage. R threatens enemies crossing its walls, not everyone merely standing inside.
E toward self → Q
Flay setup
Pull an in-range target with E, then aim Q. Displacement improves the angle but does not guarantee the hook; minions and evasive tools still matter.
W to ally → ally clicks → E
Lantern rescue
Place W where the ally can click it and use E against pursuit near you. Throwing the lantern does not automatically move the ally.
Ability reference
Thresh binds an enemy in chains and pulls them toward him. Activating this ability a second time pulls Thresh to the enemy.
Thresh throws out a lantern that shields nearby allied Champions from damage. Allies can click the lantern to dash to Thresh.
Thresh's attacks wind up, dealing more damage the longer he waits between attacks. When activated, Thresh sweeps his chain, knocking all enemies hit in the direction of the blow.
A prison of walls that slow and deal damage if broken.