
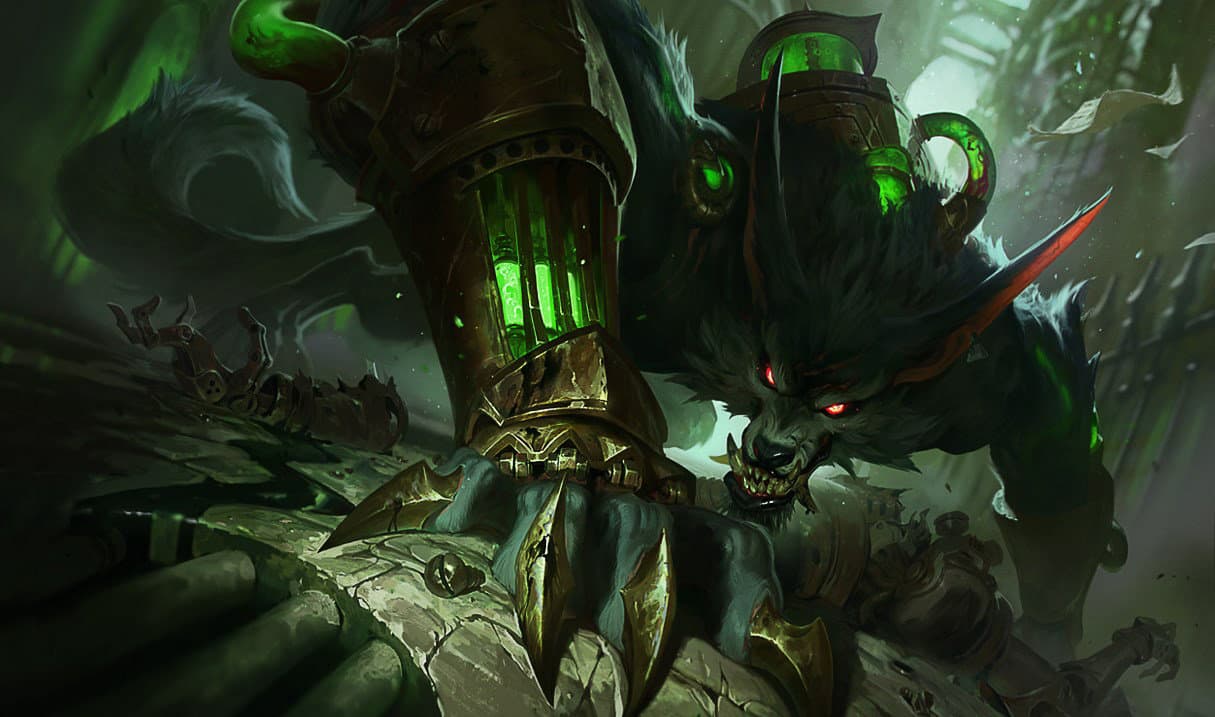

Guide · the Uncaged Wrath of Zaun
Warwick
A practical Warwick playbook using Riot kit references and MacroDiff interpretation. Check the role, review date and patch context below.
MACRODIFF PLAYBOOK
How to think about Warwick
Strengths, limits and power windows before you copy a build.
Strength profile
Initiation options
Warwick's bounded kit model rates engage at 3/3. Treat this as a composition signal, then confirm the actual opening with the ability text and enemy spacing.
Frontline capacity
Frontline 3/3 describes the kit's capacity to occupy dangerous space for the team, not permission to absorb unlimited damage.
Control chain
Crowd-control signal 2/3 makes timing with allied setup or follow-up especially valuable. Avoid overlapping the same control window without a reason.
Watch-outs
Do not wait for value automatically
Scaling is 0/3. Convert lane priority, tempo or objective access when available instead of assuming time alone improves the position.
Limited protection after commitment
Peel is 1/3. Spending the key control or mobility tool aggressively can leave no answer for the return engage.
Execution tax
Warwick is marked accessible by the current difficulty band. Missing the primary pattern can change the entire next decision, so practice the reset as well as the hit.
Power windows
Levels 1–2
Establish Blood Hunt
The max-order reference is W → Q → E, not necessarily the opening skill order. Check the actual ability learned, range and resource cost before trading.
Early skill points
Check the learned abilities
Do not assume all three basic abilities have been learned. Check the actual skill allocation and each tool's conditions before practicing an entry, follow-up or disengage.
R availability
Infinite Duress changes the decision tree
Riot's current description: Warwick leaps in a direction (scaling with his bonus Move Speed), suppressing the first champion he collides with for 1.5 seconds. Decide whether the cast creates access, protection, damage or an exit before using it.
Completed core
Re-check the team job
After the core build comes online, compare engage 3/3, peel 1/3, scaling 0/3 and frontline 3/3 again. Items can change priority without changing champion identity.
ROLE PLAN
Lane and tempo checklist
Clear with the next lane in mind
Blood Hunt anchors the first clear pattern. Route toward lanes that can convert your crowd control 2/3 or damage profile instead of clearing without a next decision.
Trade map information
When the opposing jungler appears, immediately compare nearby camps, lane priority and the next neutral objective. Do not force a mirrored response when the opposite side is more valuable.
Enter objectives with a job
Decide before contact whether the job is engage (3/3), peel (1/3), or damage follow-up. Save the tool that serves that job. When Infinite Duress is available, read its actual purpose before committing; not every R is an engage or escape.
5V5 PLAN
Team-fight responsibilities
Name the target before entering
Engage 3/3 supports opening, but only when allies can reach the same target. Ping or posture before spending the first key tool.
Preserve an exit
Peel 1/3 means the kit may not rescue a bad entry. Keep movement, range or terrain between Warwick and the return threat.
Re-evaluate after the first cooldowns
The first exchange changes health, spacing and available tools. Pause long enough to choose between continuing, peeling back or changing target; do not replay the opening automatically.
COMMUNITY LAYER
Warwick guides
Long-form decisions from MacroDiff editorial and community authors.
No reviewed analysis is available for this scope yet.
The champion hub is ready; the first reviewed Warwick community guide will appear here.