
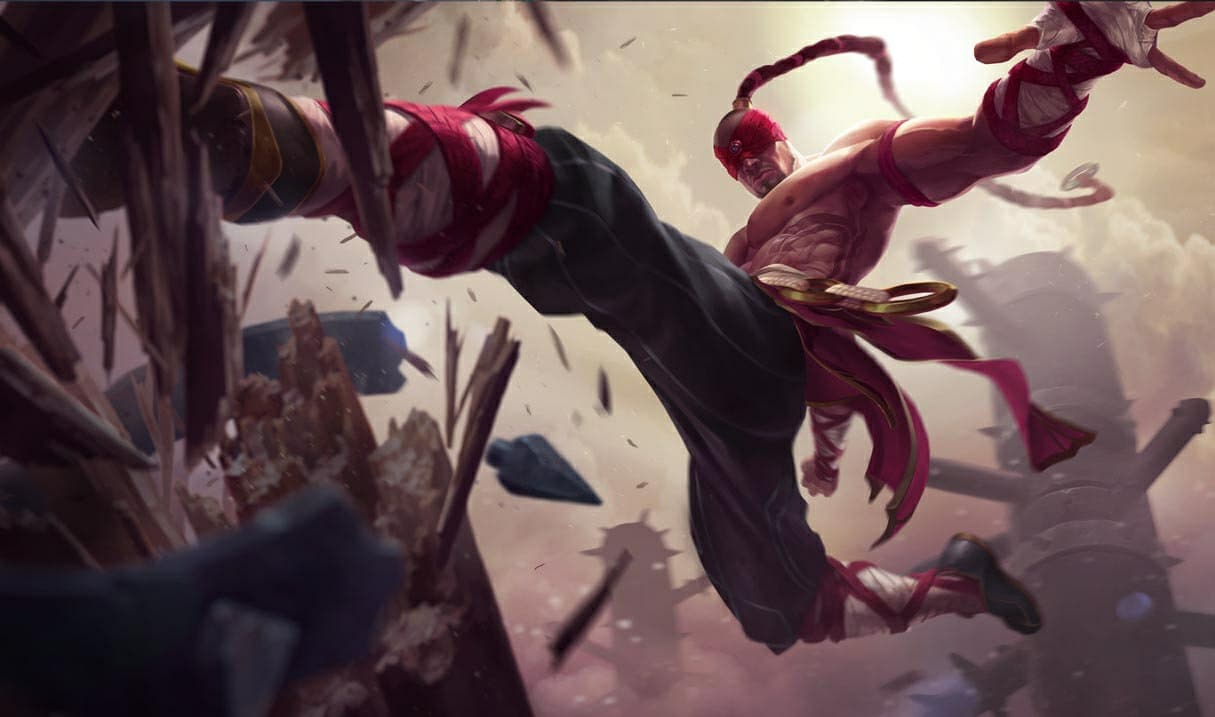

Combos · the Blind Monk
Lee Sin
Practiceable Lee Sin sequences with a clear purpose, execution note and the ability context behind each input.
PRACTICE LAB
Lee Sin combo routes
Every sequence states what it solves. Learn the decision before the muscle memory.
Q1 → Q2 → E1 → E2
Two-stage slow
Q1 must hit to enable Q2. E1 must also hit before E2 can slow; the first E is not the slow. Weave safe attacks to recover Energy.
Ward → W1 → Q1 → optional Q2
Ward-hop approach
The hop requires a placed ward and available W1. It keeps Q for the next decision; take Q2 only if the destination remains safe.
Q1 → Q2 → move behind → R
Kick-direction practice
Q1 alone does not dash. Reach the target with Q2, then use a valid ward/W or Flash reposition behind it before R. No frame-perfect timing is claimed.
Ability reference
Sonic Wave: Lee Sin projects a discordant wave of sound to locate his enemies, dealing physical damage to the first enemy it encounters. If Sonic Wave hits, Lee Sin can cast Resonating Strike for the next 3 seconds. Resonating Strike: Lee Sin dashes to the enemy hit by Sonic Wave, dealing physical damage based on the target's missing Health.
Safeguard: Lee Sin rushes to target ally, shielding himself from damage. If the ally is a champion, they are also shielded. After using Safeguard, Lee Sin can cast Iron Will. Iron Will: Lee Sin's intense training allows him to thrive in battle. Lee Sin gains Omnivamp.
Tempest: Lee Sin smashes the ground, sending out a shockwave that deals magic damage and reveals enemy units hit. If Tempest hits an enemy, Lee Sin can cast cripple. Cripple: Lee Sin cripples nearby enemies damaged by Tempest, reducing their Move Speed. Move Speed recovers gradually over the duration.
Lee Sin performs a powerful roundhouse kick launching his target back, dealing physical damage to the target and any enemies they collide with. Enemies the target collides with are knocked into the air for a short duration. This technique was taught to him by Jesse Perring, although Lee Sin does not kick players off the map.
Combo guides
No reviewed analysis is available for this scope yet.